Need more control over your call center operations?
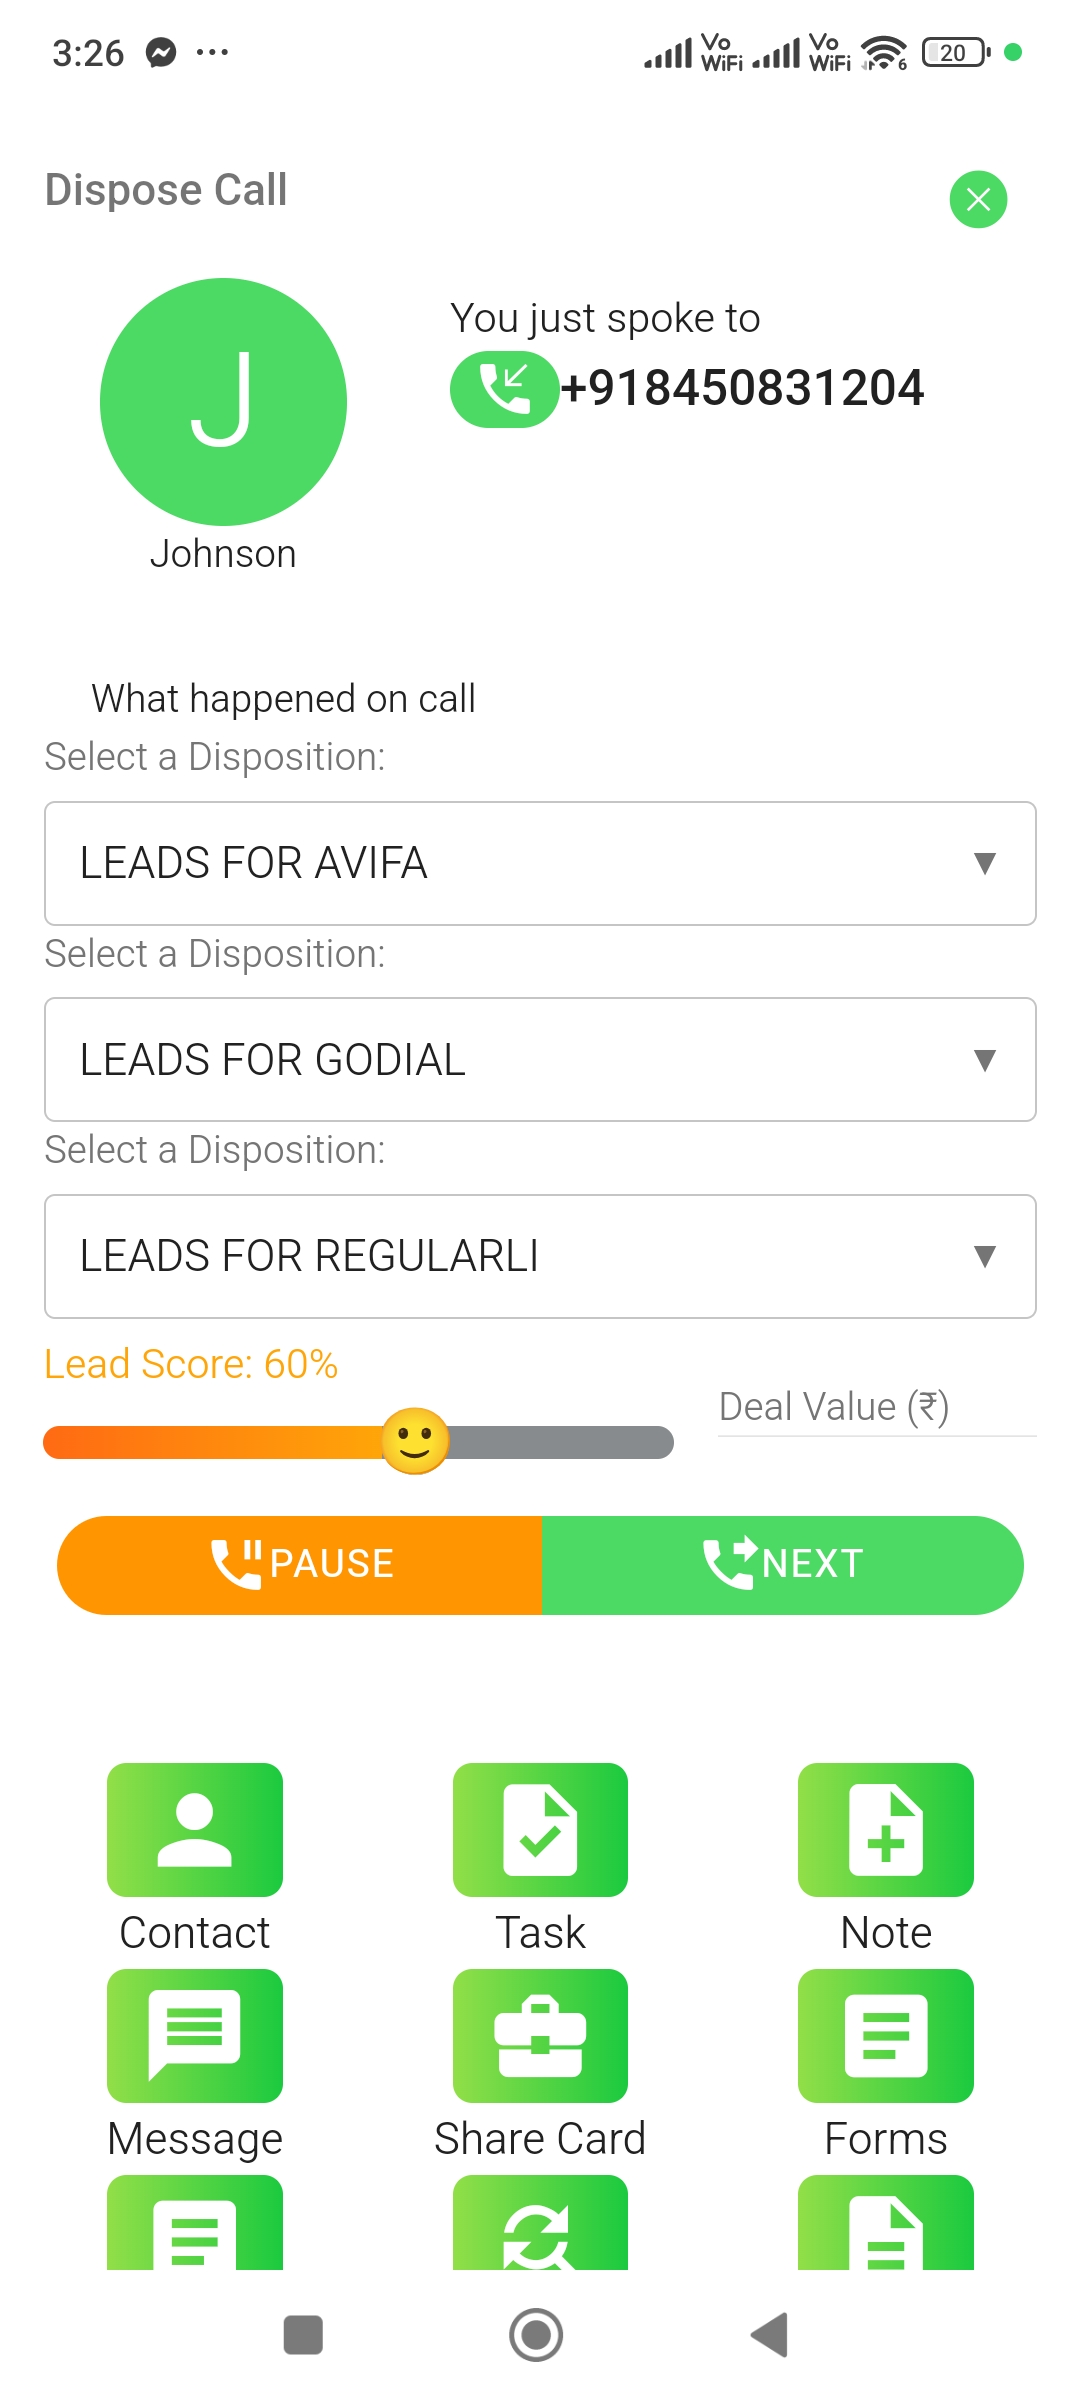
GoDial‘s multi-level dispositions feature allows you to categorize your calls with greater specificity, providing valuable insights into your team’s performance and customer interactions.
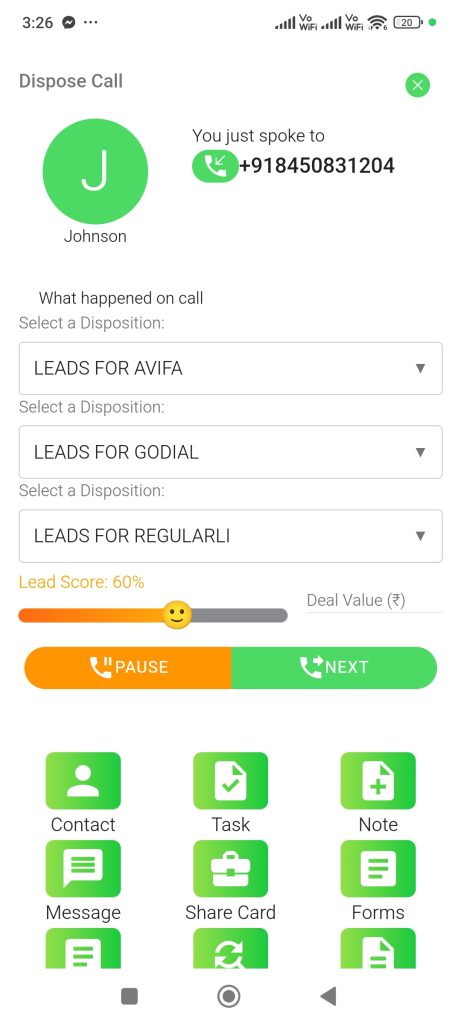
In this tutorial, we’ll guide you through the simple steps to create and customize multi-level dispositions within your GoDial Web Dashboard.
This feature enables you to break down broader categories into more granular subcategories, offering a more nuanced understanding of your call outcomes.
Step 1 – Login to your GoDial Web Dashboard using the Manager Account Credentials
Step 2 – On the left hand panel click on the Settings Tab, here you will find the option of Custom Dispositions.
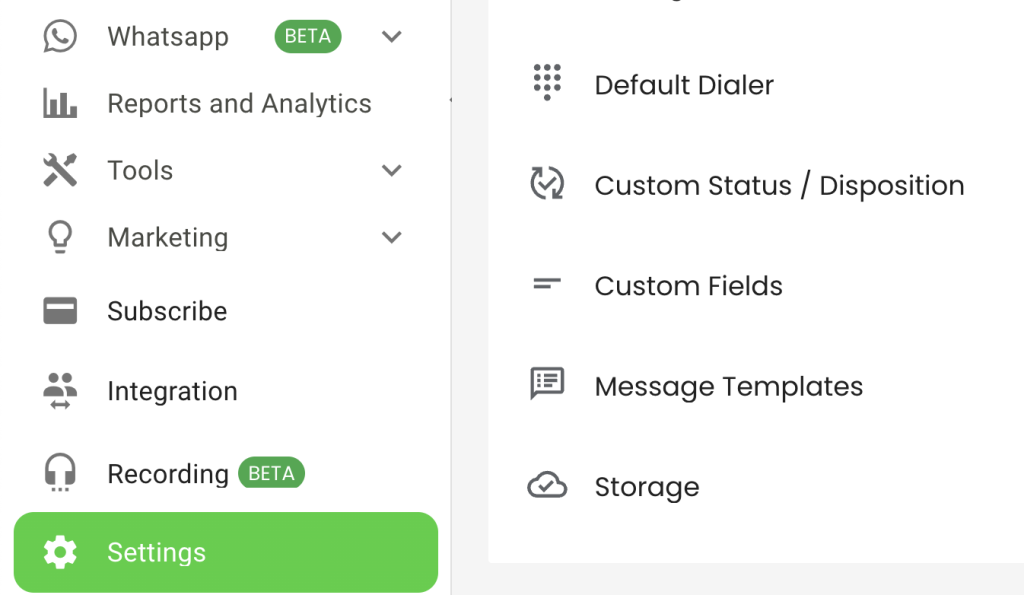
Step 3 – Click on Custom Status/Dispositions and type in the name of the Disposition you want to add, use underscores ‘ _ ‘ to mention spaces. For eg., to create a disposition Site Visit, type in this manner SITE_VISIT.
Step 4 – Select the colour code for your custom feedback. Colour codes help while checking reports, as GoDial provides a pie-chart of dispositions.
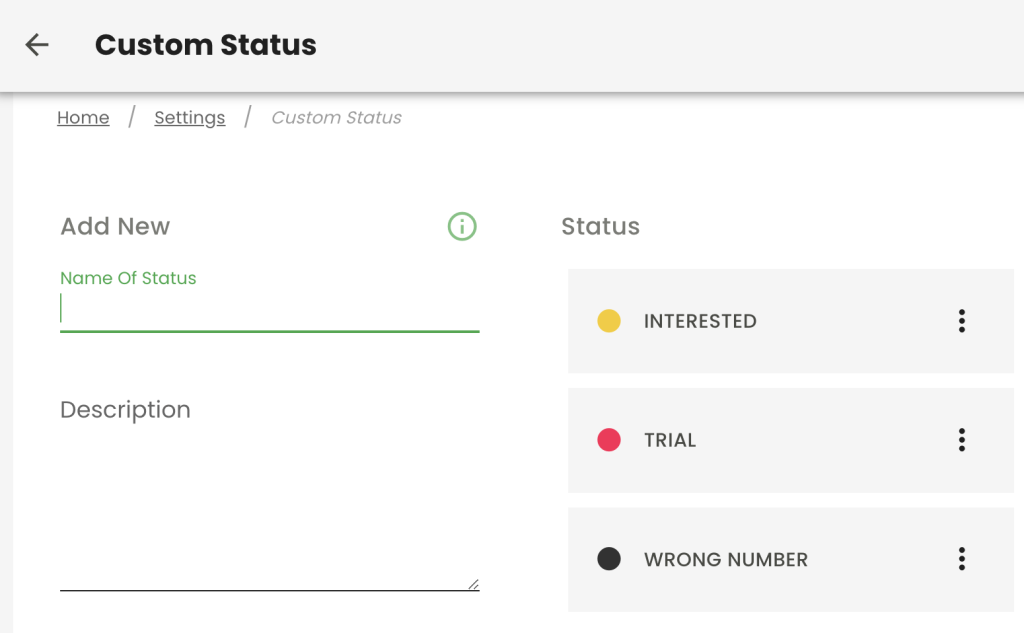
Step 5 – Now click ADD. Your custom disposition is now added into your GoDial CRM.
Step 6 – To add multiple options under your Custom Disposition, follow Step 3 and 4, type in the Name of the options you want to add.
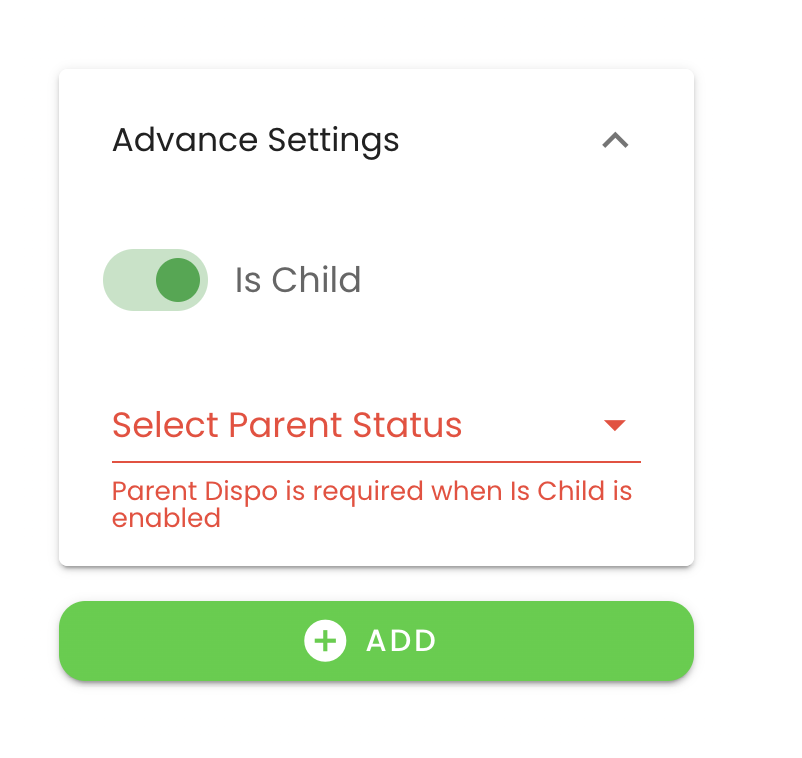
Step 7 – Click on Advanced Settings, and Enable Is Child.
Step 8 – Click on Select Parent Status, and you will get to see all the dispositions that have been added, select the custom disposition you just created and click ADD. Your Custom Disposition now has a level under it.
Follow steps 6,7 and 8 to add more options.
Once you are done, logout and login of the GoDial Enterprise App to see the changes.
You can also add options under existing dispositions in GoDial by following Steps 6,7 and 8 directly.
If you have further queries you can contact our support team and we will help you out. You can mail us at support@godial.cc


